Posts lets you keep your audience engaged in your creator story.
To create a post, go to your Posts dashboard in the side navigation bar. Here, you’ll see a list of all your published and scheduled posts.
On the ‘ Published‘ page, you will be able to view your past posts, see their open rates, click rates, and the number of people it was sent to. You can also search for a past post by clicking on the “Search” button on the top-right of the page, and either look for the post header, or any part of the text from the email body!
To create a new post, click the ‘New post’ button on the top right corner.

Audience and Channel Selection
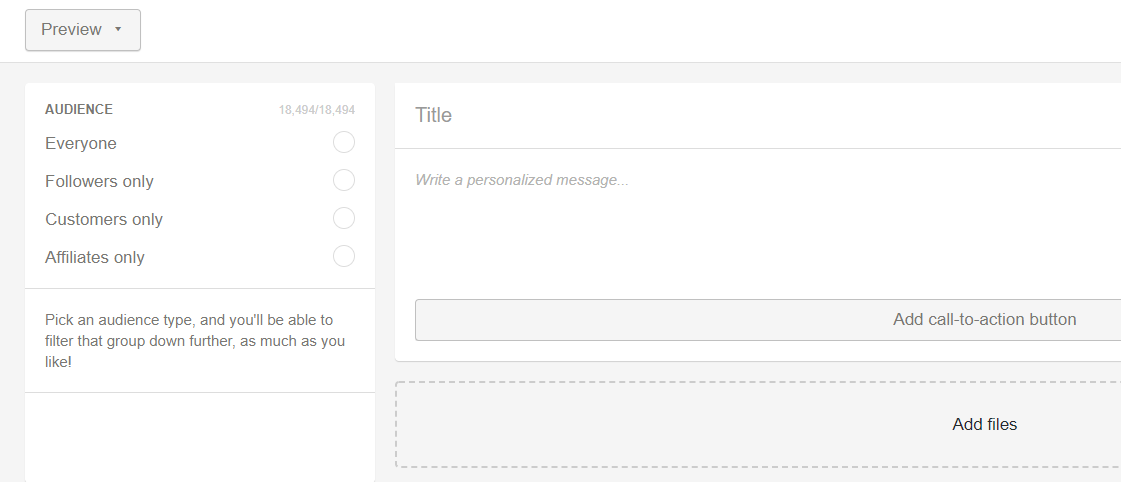
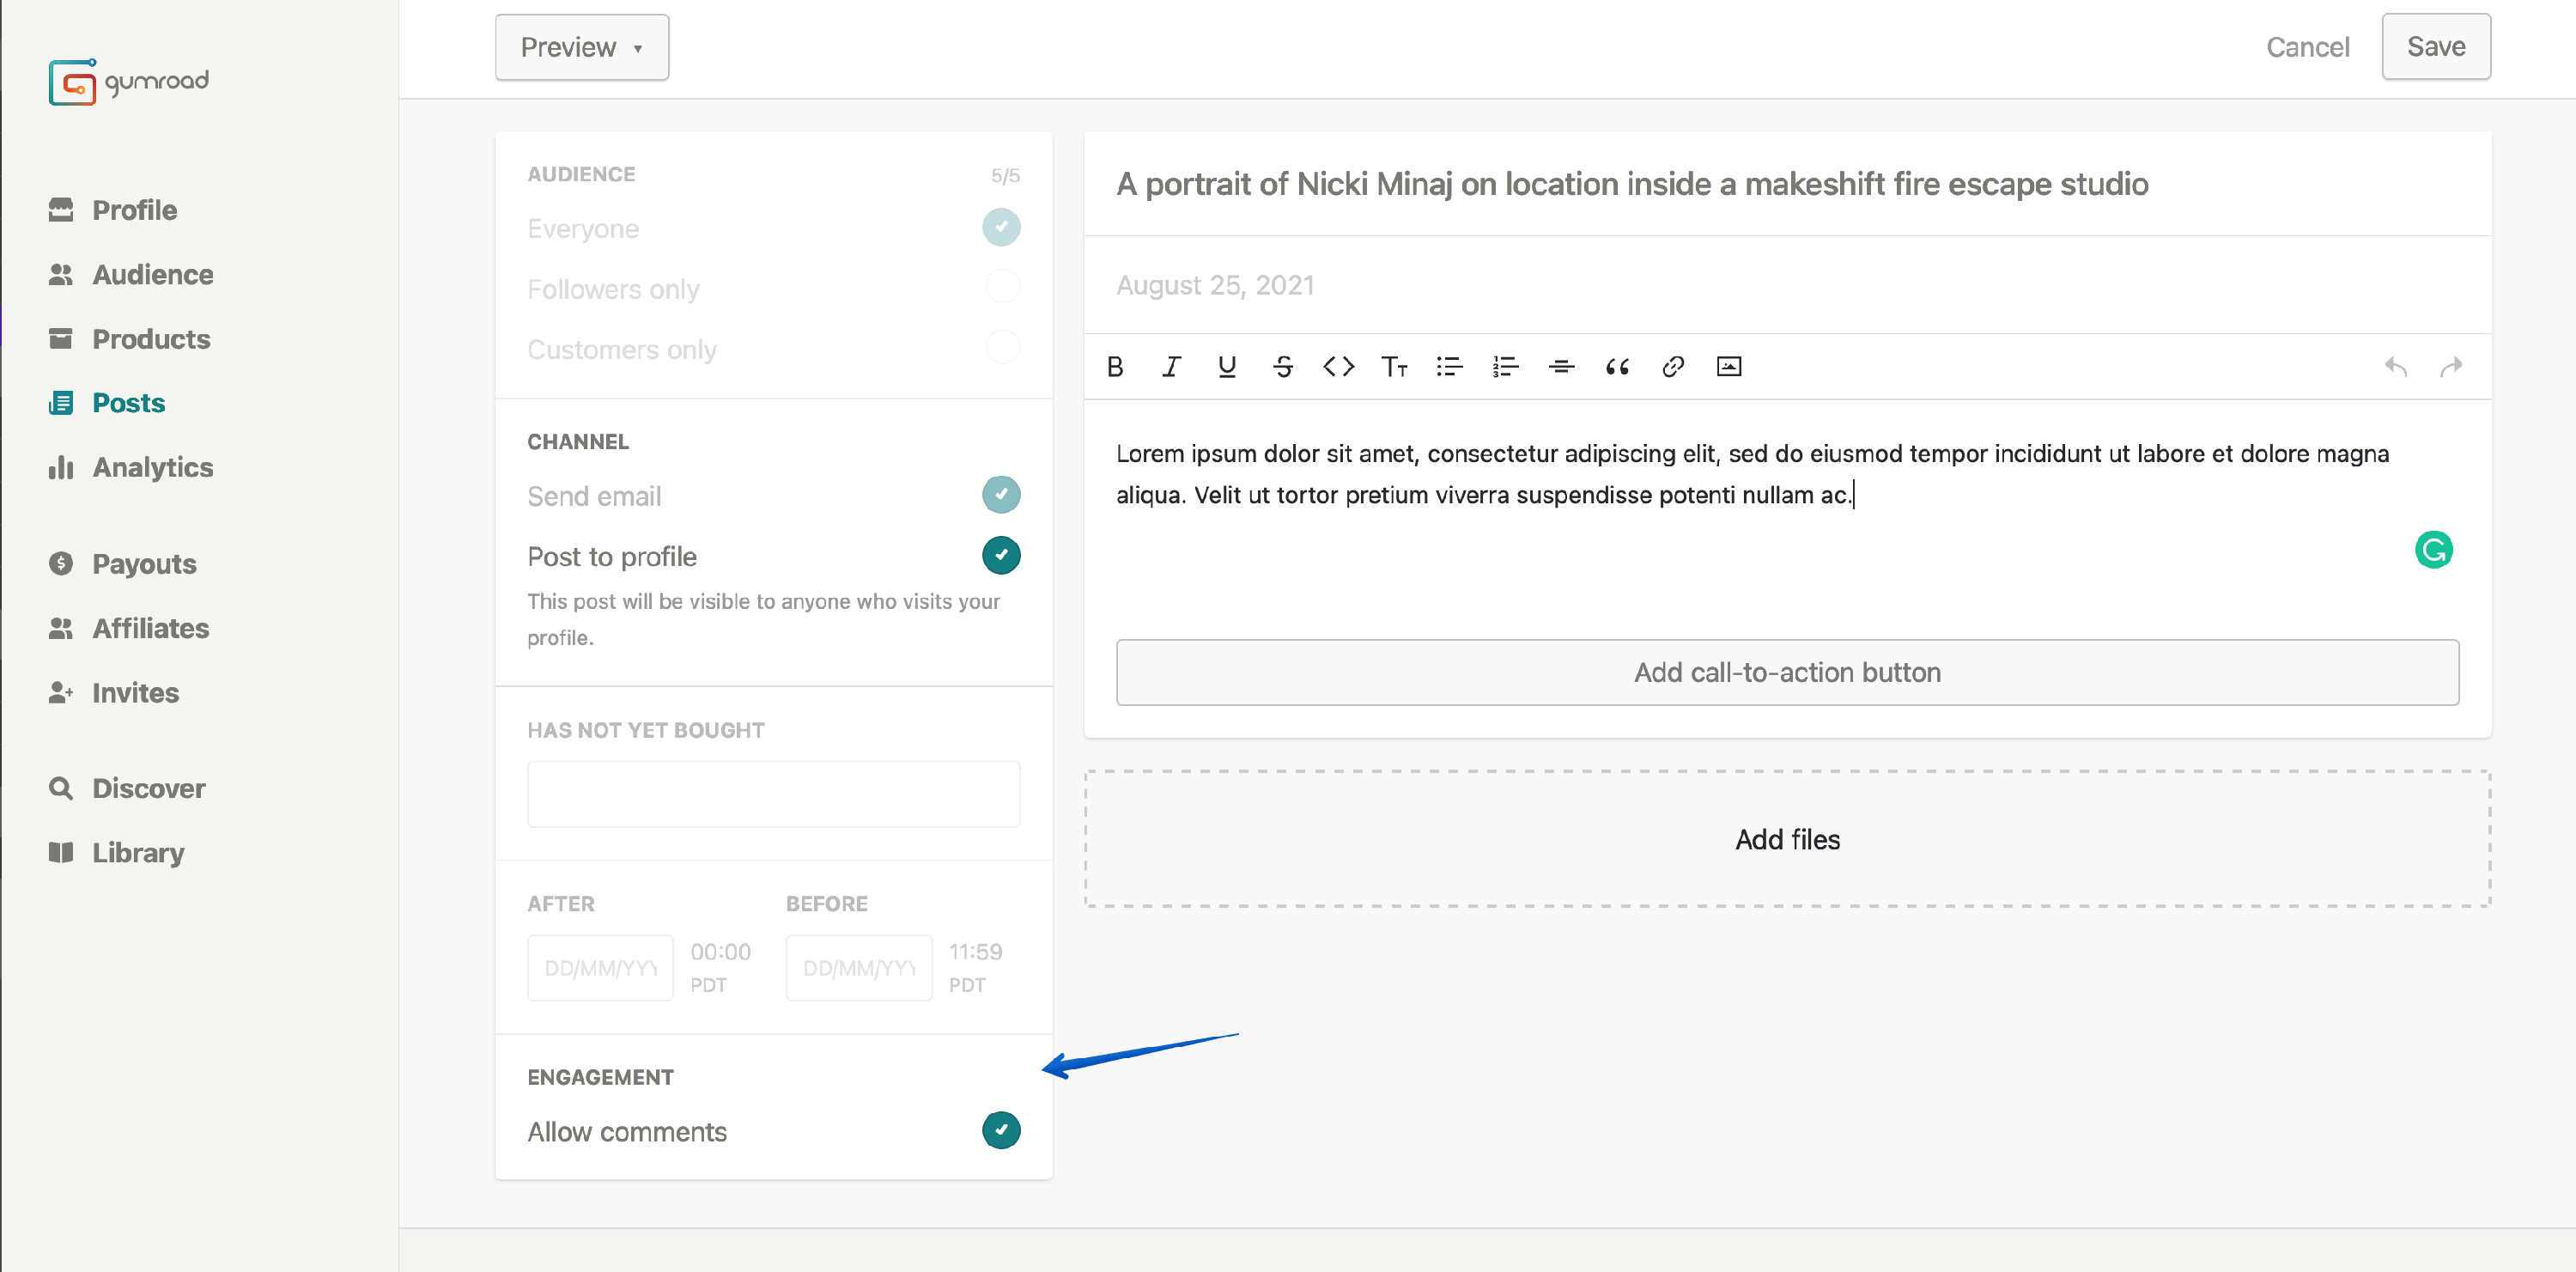
On the left, you can select your Audience. You can send your post to your followers, customers, affiliates, or to everyone! Note – these selections will only appear once you have customers (or followers, or affiliates, etc).
If you choose to send a post to your followers only, you can further narrow down that audience by products they have bought, not bought, and a date range. This allows you to target a more specific group of followers, for example, followers who have never bought any of your products, or only your newest followers!
If you choose to send a post to your customers only, you can refine that audience by selecting only customers who have bought a specific product, customers who haven’t bought a specific product, customers who have paid more or less than a specified amount, the date range in which they became customers, or even their location. You can also refine by versions, variants, or tiers.
Want to automatically send an email to your affiliates right after they sign up? Maybe to give them some instructions, or thank them for their hard work, or tell them, Glengarry Glen Ross style, that they need to be better earners? Select your audience as ” Affiliates only” and then specify affiliates of which product (or all products). Write your post, and schedule it to go hours or days after someone successfully becomes your affiliate.
Once you’ve narrowed down your audience, you’ll choose your Channel. You can choose to send it as an email and/or to create a post on your Gumroad profile.
Creating your Post
Next, write your post and give it a title. You can add a call-to-action button to your post as well as upload files!
You can also use the many buttons at the top of the Post editor to format your text, add bullet points, a horizontal bar, hyperlinks, or images!

Preview and Publish
We’re almost done, but before finally hitting that “Send” button, its probably a good idea to see for yourself what the actual mail will look like to your audience in their mailbox.
Enter the ” Preview” option. Clicking on the preview button sends the post to your own email ID. So click the button and head on to your mailbox to make sure everything looks fine and dandy. Found a typo? No problem, you can come back to edit your post.

When you’re happy with your post, hit the Publish button in the upper right hand corner (if you are sending your post as an email only, this button will say Send instead). Then, you can either choose to Publish now, or schedule your post to be published on a future date.
If you want new followers or customers to be sent a post that was published before they had signed up for your updates, just go to the Audience dashboard, select their name, and then click Emails to send them any updates they’ve missed.
Backdating posts
If you’re importing previous posts from another blog, you can publish your posts, then, from the Posts dashboard, click “EDIT”

Then adjust the date of the post to any day in the past, and save changes:

Comments on Posts
We have now enabled comments on posts! The one-way nature of posts can now be a multi-way conversation between you and your community. Keep the discussion going with nested comments as a way to make your customers feel more involved, and to gather quick feedback on your content.
Comments are now turned on by default, but if you’d rather not have your posts open to comment, you can disable it on each post with one simple click:
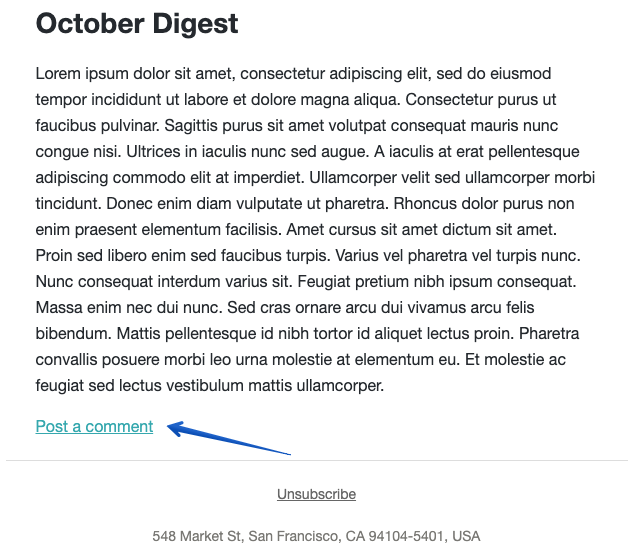
Leaving a Comment
Once the post is live, comments can be added with one click as well:
Comments can be made by:
- The post author
- Purchaser of the post’s belonging product
- Any user who can view the post
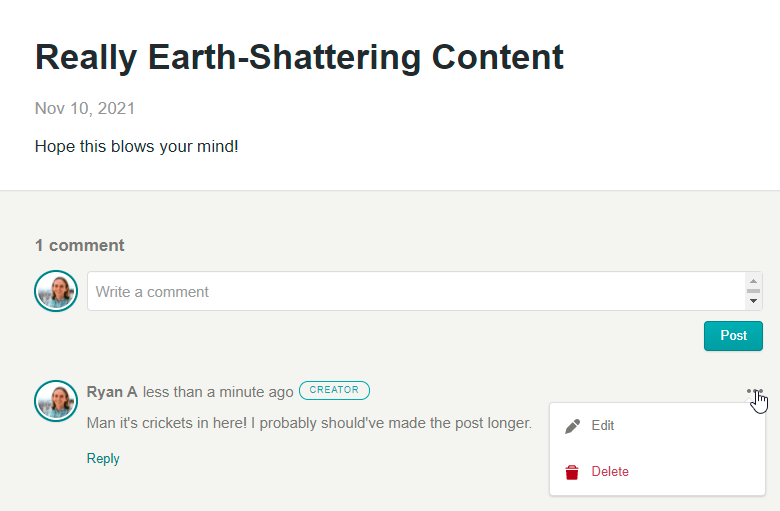
Deleting Comments
Comments can be deleted by both the commenter and the post author, so you will be able to moderate comments on your own posts. Please note that deleting a comment (or a reply) also deletes all replies received for that comment.
Happy posting!